Configure
Open Configure from the Home card or the sidebar. The device must be stopped first. The Configure screen is one scrolling page that ends in Save and start logging, worked through section by section below.
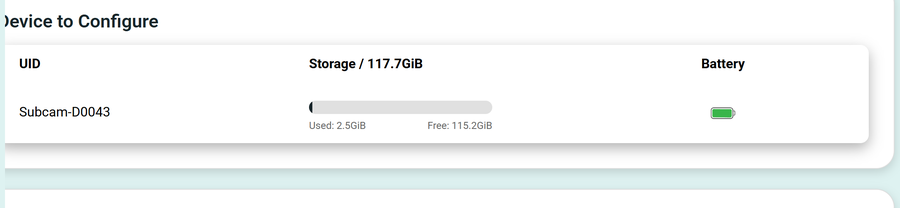
Device to Configure
A summary of the connected device: its UID, storage used and free, and battery level.
Deployment
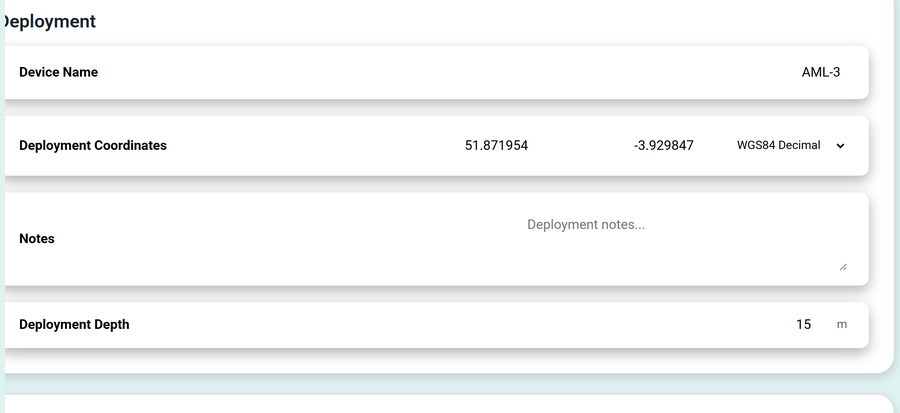
- Device Name: a friendly name for the unit (the example shows AML-3).
- Deployment Coordinates: latitude and longitude, with a coordinate-format selector (for example WGS84 Decimal).
- Notes: free-text deployment notes.
- Deployment Depth: depth in metres.
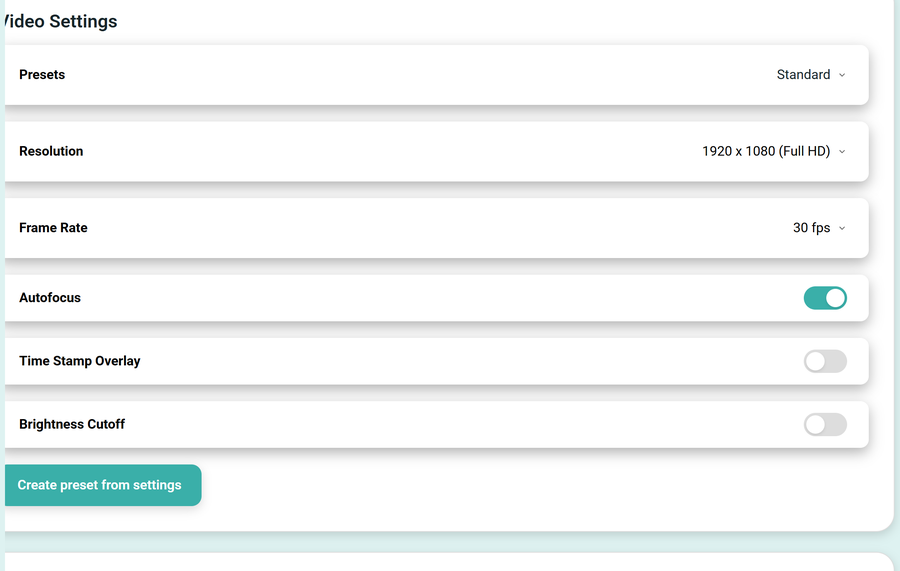
Video Settings
| Setting | Options |
|---|---|
| Presets | A built-in preset (Standard, a high-quality preset for short deployments, or a storage-saver preset for long deployments), or any custom preset you have saved |
| Resolution | 1920 x 1080 (Full HD), 1280 x 720 (HD), or 640 x 480 (VGA) |
| Frame Rate | 15, 24, 30 or 60 fps |
| Autofocus | On or off |
| Time Stamp Overlay | On or off |
| Brightness Cutoff | On or off |
Create preset from settings saves the current video settings as a reusable preset.
Image Settings
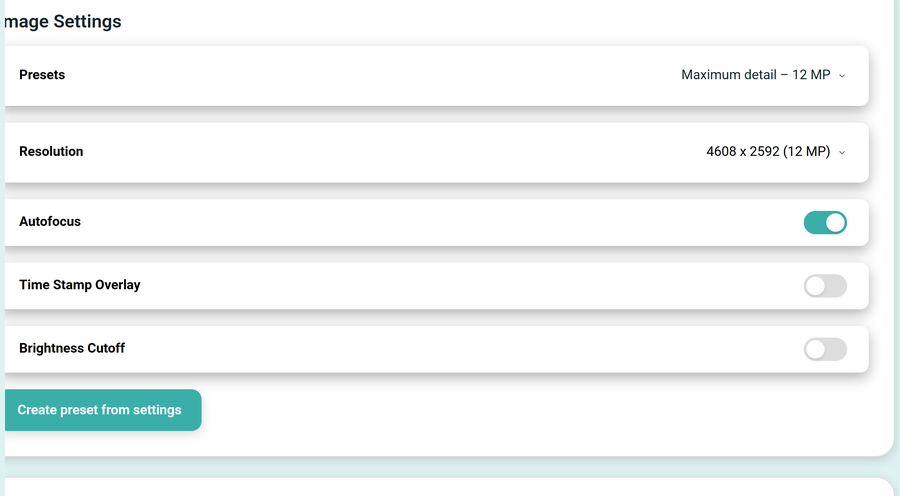
The same layout as Video Settings, for still images:
| Setting | Options |
|---|---|
| Presets | A built-in preset (for example a maximum-detail 12 MP preset), or a custom preset |
| Resolution | Up to 4608 x 2592 (12 MP) |
| Autofocus | On or off |
| Time Stamp Overlay | On or off |
| Brightness Cutoff | On or off |
Sensor Calibration
Calibrate the on-board sensors before a deployment. Each sensor shows when it was last calibrated, with a Calibrate sensor button.
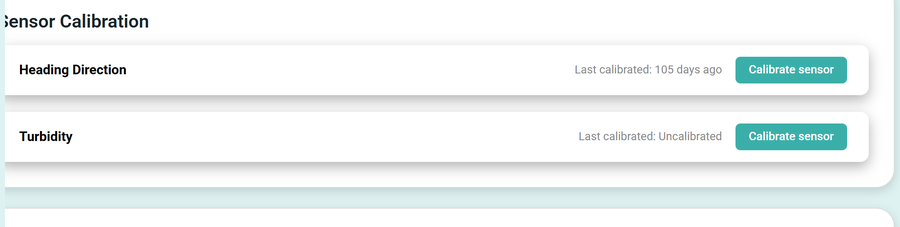
- Heading Direction, the magnetometer (compass).
- Turbidity.
Pressing Calibrate sensor for the heading opens the magnetometer calibration:
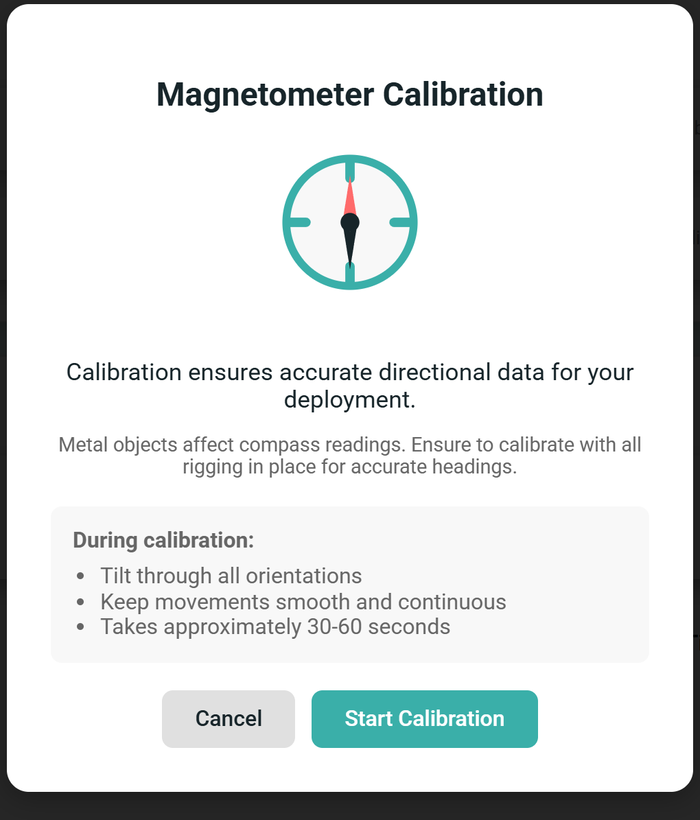
Calibrate with all rigging and metal hardware in their final positions, because metal near the device affects the compass. During calibration, tilt the device smoothly through all orientations. It takes about 30 to 60 seconds.
When everything is set, build a Schedule and press Save and start logging. The status LED turns green and the device enters logging mode within about 30 seconds.